搭建Gitlab私服
1.官网地址
首页:https://about.gitlab.com/
安装说明:https://about.gitlab.com/installation/
2.提前下载所需rpm(文末有安装包)
yum安装gitlab-ee(或ce)时,需要联网下载几百M的安装文件,非常耗时,所以应提前把所需RPM包下载并安装好。
下载地址是:
https://packages.gitlab.com/gitlab/gitlab-ce/packages/el/7/gitlab-ce-10.8.2-ce.0.el7.x86_64.rpm
下载好后上传到Linux系统,习惯上还是放在/opt目录下
3.安装
sudo rpm -ivh /opt/gitlab-ce-10.8.2-ce.0.el7.x86_64.rpm
sudo yum install -y curl policycoreutils-python openssh-server cronie

# sudo yum install lokkit
sudo lokkit -s http -s ssh
sudo yum install postfix


#yum install keyutils-libs-devel libcom_err-devel libselinux-devel  libverto-devel -y
#rpm -ivh mysql-community-libs-compat-5.7.28-1.el7.x86_64.rpm
sudo systemctl enable postfix.service
sudo chkconfig postfix on
curl https://packages.gitlab.com/install/repositories/gitlab/gitlab-ce/script.rpm.sh | sudo bash
sudo EXTERNAL_URL="http://gitlab.example.com" yum -y install gitlab-ce
4.访问
- 初始化配置
gitlab-ctl reconfigure
- 启动Gitlab服务
gitlab-ctl start
- 停止Gitlab服务
gitlab-ctl stop
访问Linux服务器IP地址即可,如果想访问EXTERNAL_URL指定的域名还需要配置域名服务器或本地hosts文件。
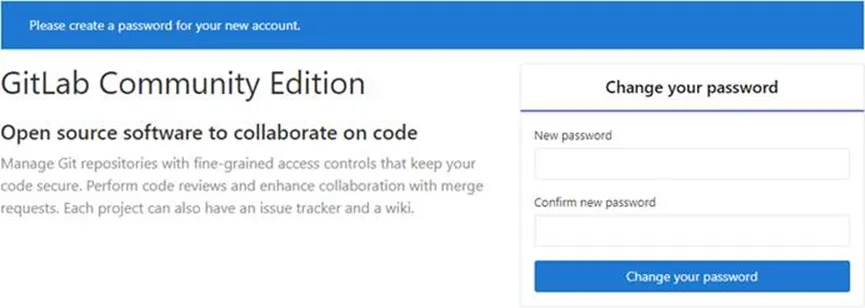
初次登录时需要为gitlab的root用户设置密码。